 |
| Puna Noni Juice |
 |
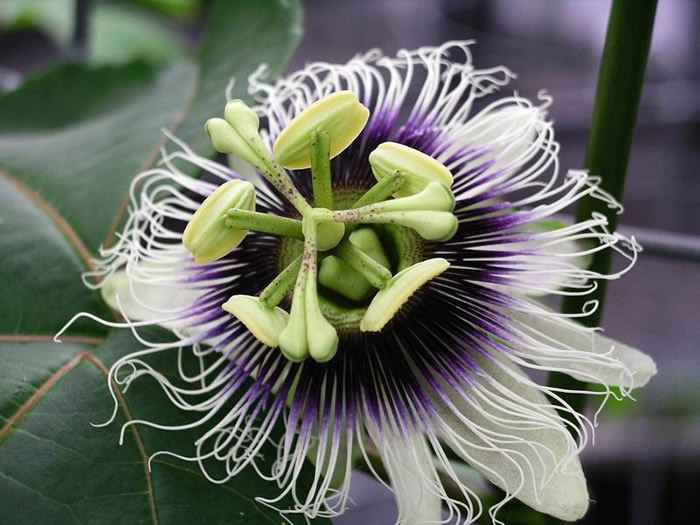
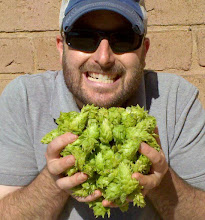
| Noni Fruit, Morinda citrifolia |
Puna Noni Sour
|
Specialty Beer
|
BJCP:
23A
|
Date: 12/20/2011
|
|||||||||||||||||||||||||||||||||||||||||||||||||||||||||||||||||
Type: All Grain
|
Brewer: Sean
|
|||||||||||||||||||||||||||||||||||||||||||||||||||||||||||||||||
Batch Size: 5.00 gal
|
Asst Brewer:
|
|||||||||||||||||||||||||||||||||||||||||||||||||||||||||||||||||
Boil Time: 90 min
|
Equipment: Chillindamos Brewhaus
|
|||||||||||||||||||||||||||||||||||||||||||||||||||||||||||||||||
Est Original
Gravity: 1.061 SG
|
Measured Original Gravity:
1.059 SG
|
|||||||||||||||||||||||||||||||||||||||||||||||||||||||||||||||||
Est Final Gravity:
1.017 SG
|
Measured Final Gravity:
1.010 SG
|
|||||||||||||||||||||||||||||||||||||||||||||||||||||||||||||||||
Estimated Alcohol by Vol:
5.9 %
|
Actual Alcohol by Vol: 6.4 %
|
|||||||||||||||||||||||||||||||||||||||||||||||||||||||||||||||||
IBUs (Tinseth’s):
38.1 IBUs
|
Est Color:
14.3 SRM
|
|||||||||||||||||||||||||||||||||||||||||||||||||||||||||||||||||
Total Hop Weight: 3.80 oz
|
Calories: 196.2 kcal/12oz
|
|||||||||||||||||||||||||||||||||||||||||||||||||||||||||||||||||
Description: The noni juice is dark brown and very aromatic. The flavor and aroma are hard to describe since I haven't had anything like this before. Definitely funky! Should put most recipes found in "Radical Brewing" in the tame category.
I'll categorize this brew in BJCP Category 23 - Specialty Brew for its unusual and exotic fermented fruit ingredient and no definitive baseline style. |
||||||||||||||||||||||||||||||||||||||||||||||||||||||||||||||||||
|
||||||||||||||||||||||||||||||||||||||||||||||||||||||||||||||||||
|
||||||||||||||||||||||||||||||||||||||||||||||||||||||||||||||||||
Mash Type: Single Infusion, Medium Body, No Mash Out
|
Total Grain Weight:
12 lbs 3.2 oz
|
|||||||||||||||||||||||||||||||||||||||||||||||||||||||||||||||||
Sparge Temperature:
168.0 F
|
Pre-boil Volume:
5.95 gal
|
|||||||||||||||||||||||||||||||||||||||||||||||||||||||||||||||||
Days in Primary: 14.00
|
Primary Temperature:
65.0 F
|
|||||||||||||||||||||||||||||||||||||||||||||||||||||||||||||||||
Days in Secondary:
365.00
|
Secondary Temperature:
60.0 F
|
|||||||||||||||||||||||||||||||||||||||||||||||||||||||||||||||||
Days in Tertiary: 7.00
|
Tertiary Temperature:
65.0 F
|
|||||||||||||||||||||||||||||||||||||||||||||||||||||||||||||||||
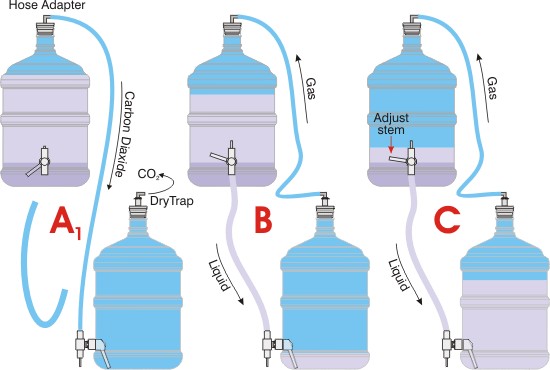
Carbonation Type:
Keg
|
Volumes of CO2: 2.3
|
|||||||||||||||||||||||||||||||||||||||||||||||||||||||||||||||||
Pressure/Weight:
12.54 PSI
|
Carbonation Used:
Keg with 12.54 PSI
|
|||||||||||||||||||||||||||||||||||||||||||||||||||||||||||||||||
Keg/Bottling Temperature:
45.0 F
|
Storage Temperature:
60.0 F
|
|||||||||||||||||||||||||||||||||||||||||||||||||||||||||||||||||
Notes: Added noni juice directly to the primary just before pitching WLP565. Saison I yeast was choosen for its known ability as an underachiever leaving food behind for the sour blend to do its work. 60 seconds of oxygen via diffusion stone also applied prior to pitching. No yeast starter used, single vial only. Started ferment at 65°F and insulated well to allow free-rise. I will not ramp up the temperature like most saison fermentation profiles. Instead, I will let 565 do what it can before racking to secondary and pitching two vials of WLP655 Belgian Sour Mix I. Then, it will sit for a year.
|
||||||||||||||||||||||||||||||||||||||||||||||||||||||||||||||||||
Created with BeerSmith
|
||||||||||||||||||||||||||||||||||||||||||||||||||||||||||||||||||
Rodríguez, Wilfredo. Noni Fruit (Morinda Citrifolia).jpg. 2008. Photograph. Morinda Citrifolia. Wikipedia.org, 15 Oct. 2008. Web. 21 Dec. 2011.


